The Process
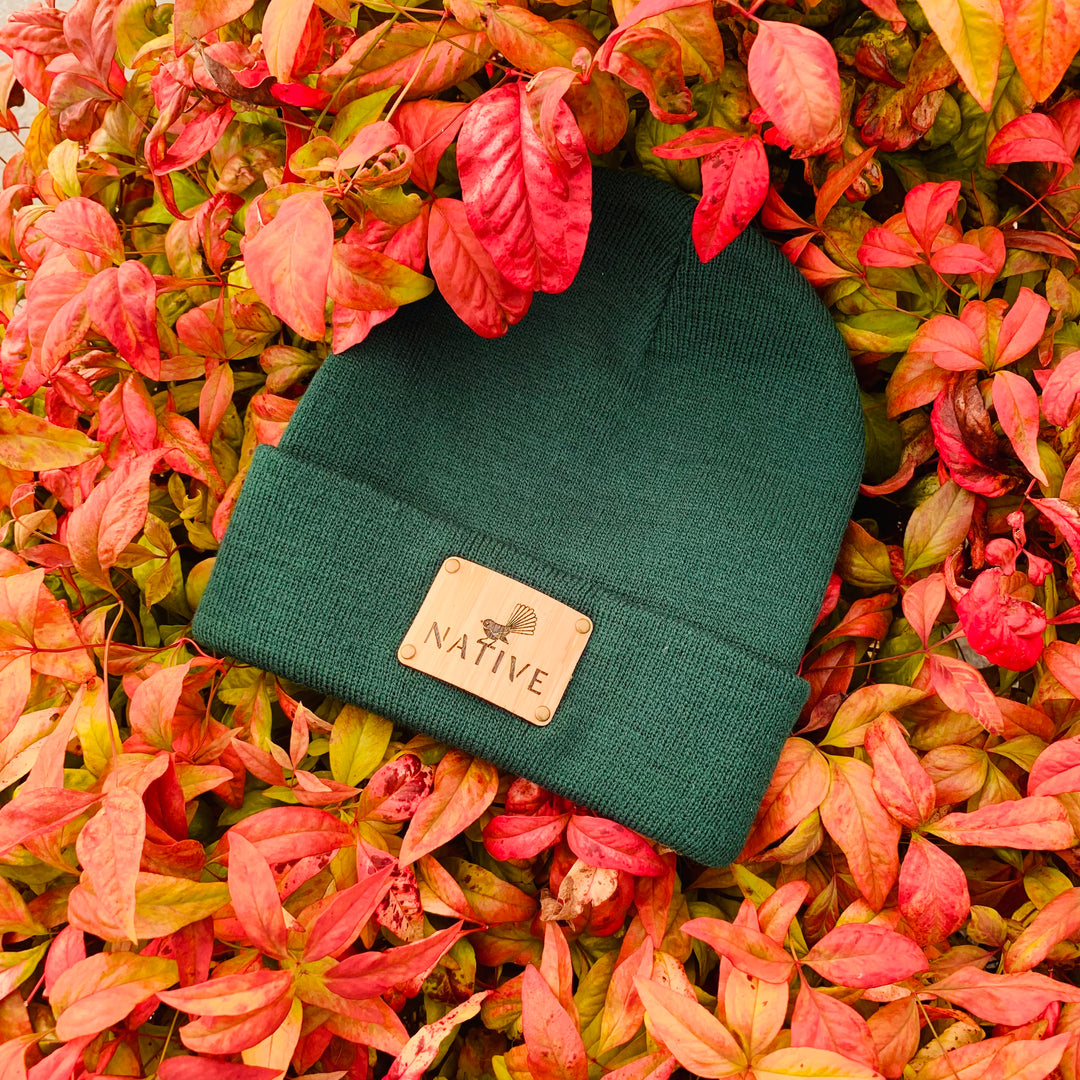
The biggest offering within our range is the laser cut wood badge collection. On this page we’ll take you through the process from start to finish, showcasing the eight steps we take to create each and every MNTN cap.
The Wood Badge Process...

The first step in the process is always to draw, to find the inspiration for the badge and play until it takes shape. This is done with pen and paper or via an iPad and Pencil. While most designs are done in-house we also reach out to local and international artists we admire to collaborate on new designs. We even held a badge comp during level four of the Covid lockdown which unearthed great additions to the range.

Step 2) We convert the drawing into a vector file so the laser can read the drawing and etch. We then laser cut the design out onto the chosen material, thin Dutch Birch laminate is our current wood of choice, it's durability and ability to bend and hold a curve is key.

Step 3) Once the etching and cutting is complete we clean up the badge, sanding the top and edges smooth to check for blemishes and prepare the badge for it's first of at least two layers of paint.

Step 4) While we do use "nude" wood for some designs, most are painted and then sanded back to reveal the paint sitting inside the etched burn. We experiment with paint in a variety of colours with black being the colour of choice for most of our badges.
Step 5) Once the layers of paint have dried we start the process of sanding back the excess to reveal the laser etched pattern below. Depending on the design and the cap it will be paired with the amount of sanding we undertake allows for darker or lighter finishes.

Step 6) With the sanding process complete we move onto bending the wood to curve the same shape as the front of the cap. Steam is the best way we've found, heating and softening the badge to allow it to be bent around a mould to then dry overnight to make the curve permanent.

Step 7) With the badge now shaped we apply multiple laters of a clear protective coating spray to add weather protection. We use matt and gloss finishes to best showcase the texture in the wood grain and to match the texture of the badge to the cap its being paired with.

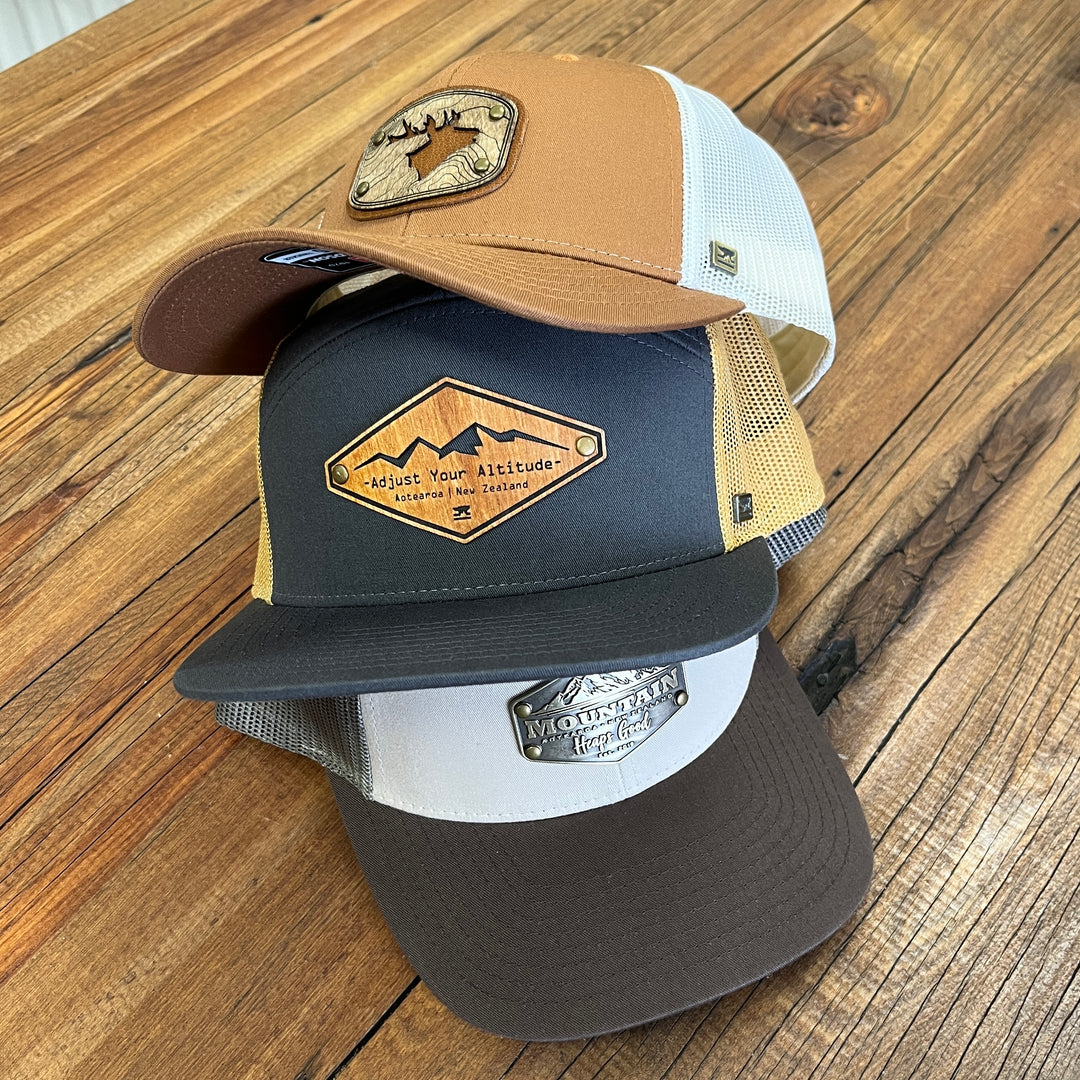
Step 8) Once completely dry we apply the badge to the cap, a two step process of gluing to position the badge into place and once dry riveting the badge to lock it in permanently. This makes for a highly durable yet classic understated finish.

Here we are, eight processes later and we have finished your next cap. Hopefully you’ll understand the reason you've never seen a cap like ours before, it's a laborious process, but your head and the complements you'll receive are worth it.